Computer Aided Design
For Skecting digital copy of final project and other personal projects, we need to create 2-Dimentional(2D) or 3-Dimentional (3D) designs. I started to learn few tools recommended by fab academy..
******************2D Design******************
‣ GIMP
GIMP -GNU Image manipulation Program is free , open source software used for image editing, drawing , format changing etc. To start with GIMP , I decided to wrap a text around fablab logo.
The steps folowed to do this are...
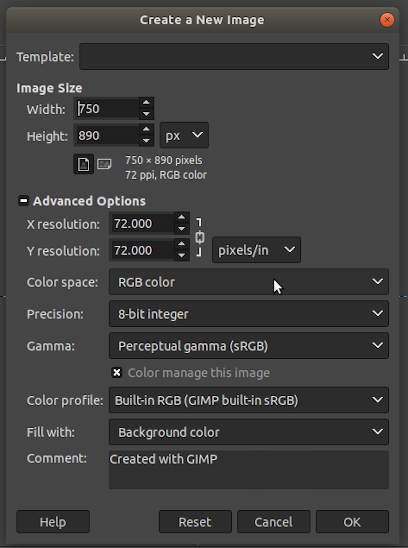
- To create a new image, start with setting the canvas. For this go to ‘File’ open ‘Create new’ give height and width of image. In that window go for the ‘advanced option’ and you can choose the background color. I chose white color.
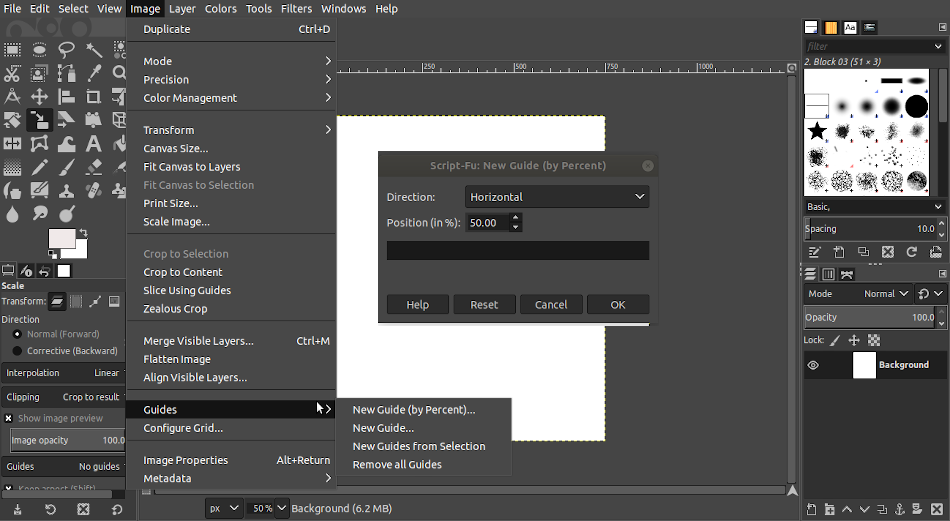
- Then I added ‘ guides’ to the background , this is for helping. For this click ‘Image’ got Guides' Now you can add vertical and horizontal guides and position them by giving the percentage.
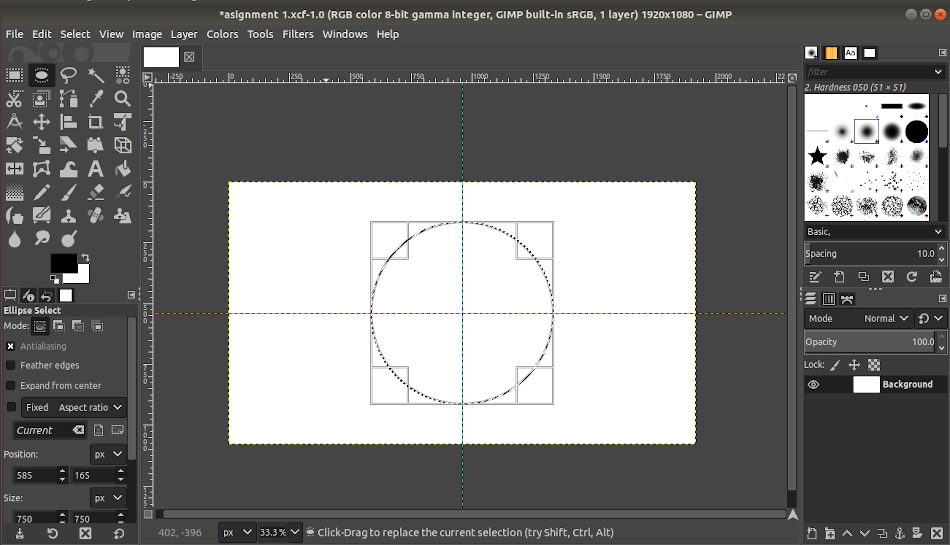
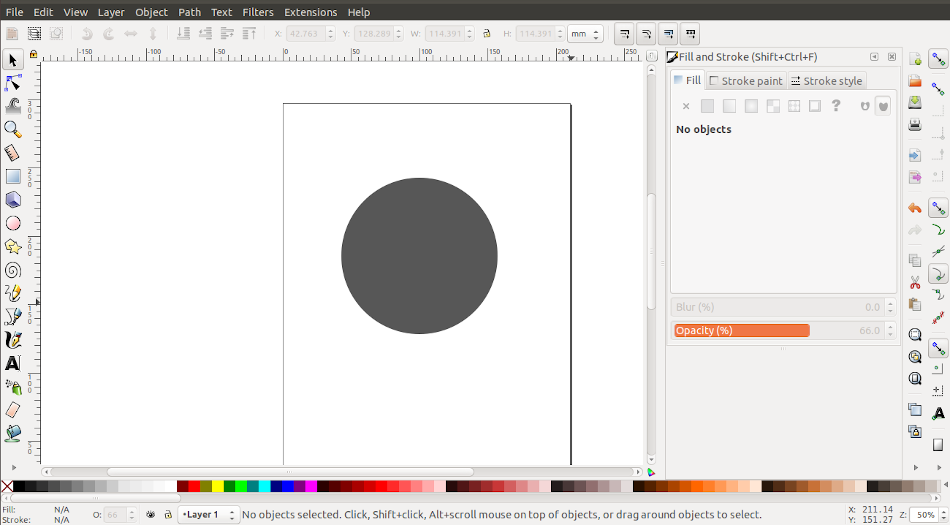
- Click the ‘ ellipse’ button from the toolbar and Press ‘shift’ + click and drag it on the centre point to create a circle.
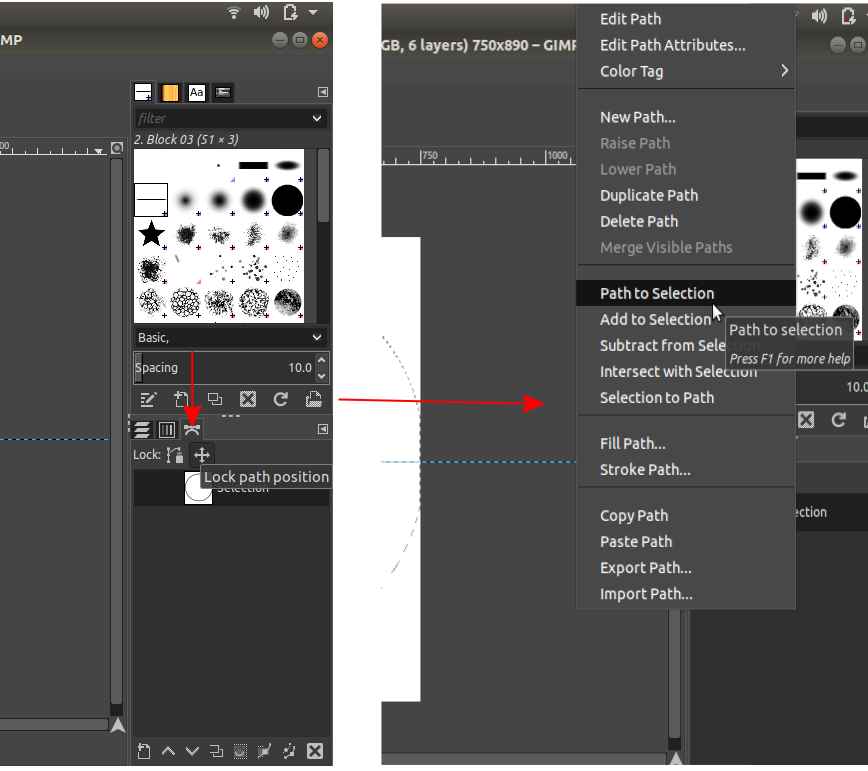
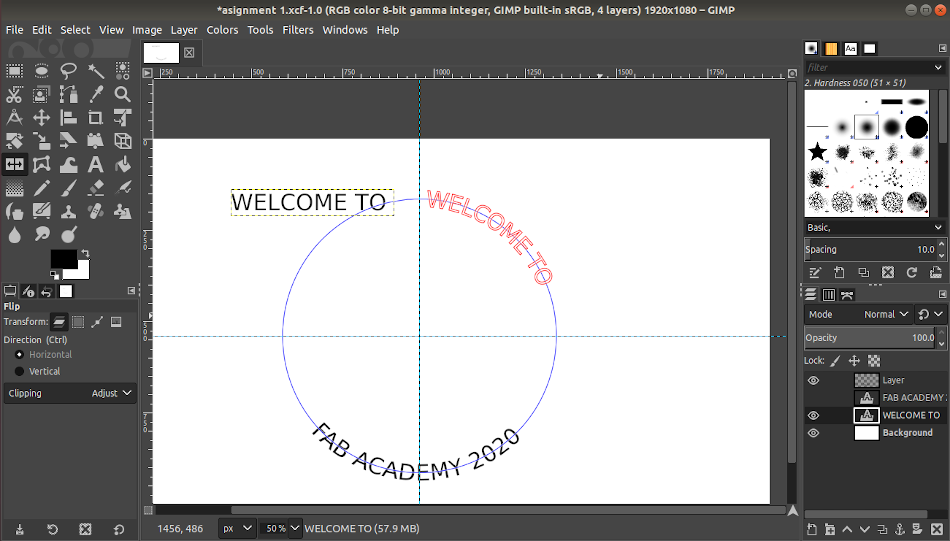
- I needed to wrap a text around the circle . For this I set a ‘Path’ around the circle. For that, Click “Path” from “Select”.
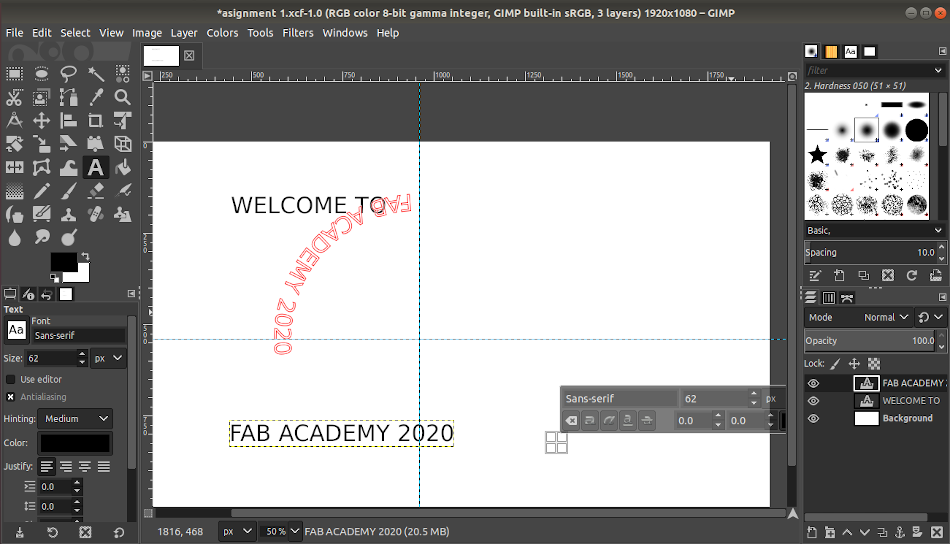
- Next add the required text as a layer using the “Text” tool. Now right click on the text layer seen on the right side window and click ‘Text to path’.
- After that the text will be wrapped around the circle. This text has to be added as a layer. Now you can give the required text by using “ fill with FG color”.
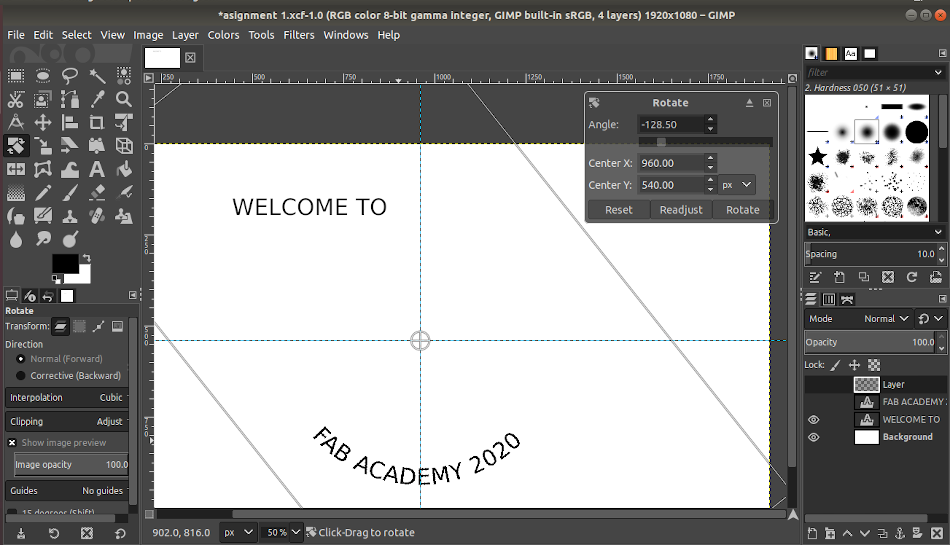
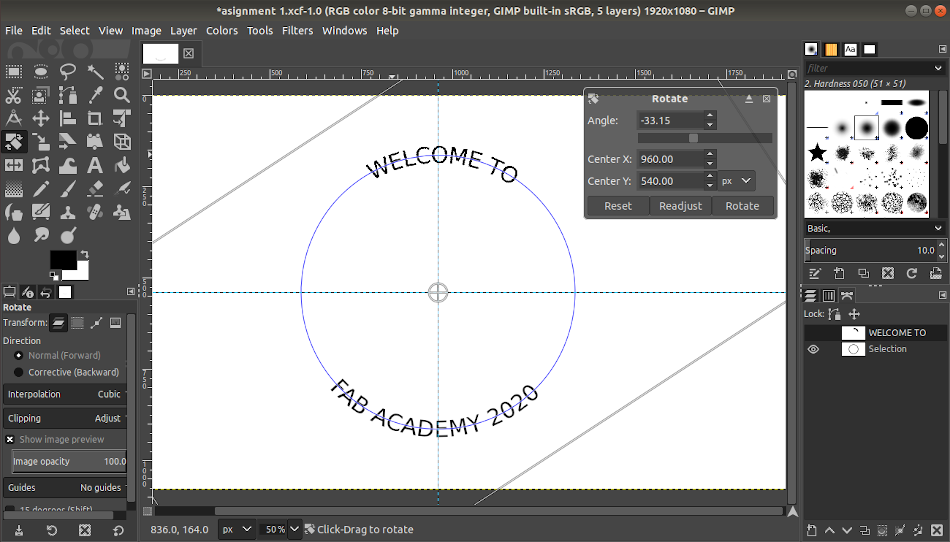
- Use the ‘Rotate’ tool to position the text in the path.
- Later I added a fab lab logo as a Layer and using the “scale’ and ‘crop’ tool I placed the logo inside the text.
- Finally you can ‘Export as’ the image as jpeg or png .
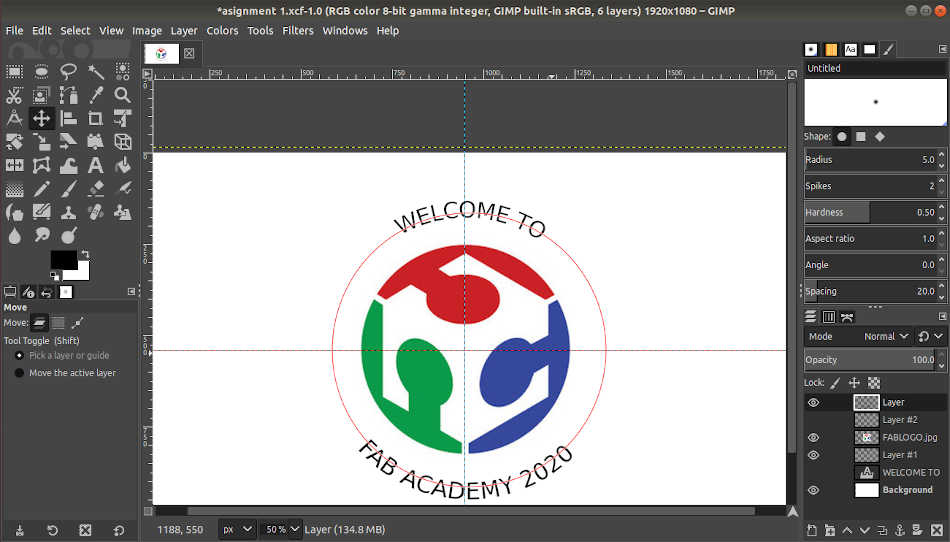
Logo Designed using GIMP

‣ INKSCAPE
Inkscape is a free and open-source vector graphics editor used to create vector images, primarily in Scalable Vector Graphics format
I did model some vector designs using'INKSCAPE' Tool. I intended to design a logo using circles and ellipses and I followed the below steps to model the logo.
- Click ‘File’ and open ‘New’ file and by using the ‘ Document property” we can give the page size of the document.
- Then click the ellipse button on the left toolbar and press and drag the on the page along with the ‘shift’ key to get a circle.
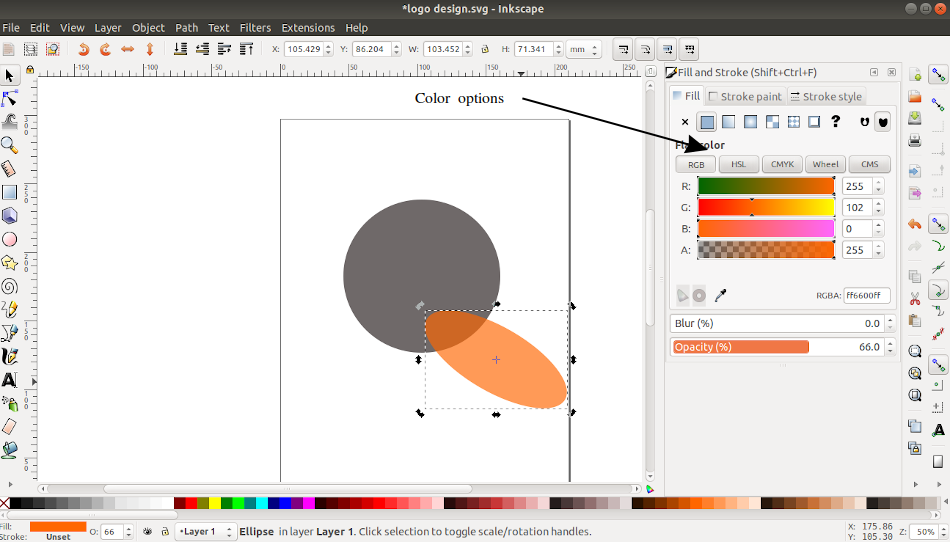
- After that , you can give the color by clicking on the color option displayed on the bottom of the window or Use ‘Fill and Stroke' option to fill different shades of color to the image
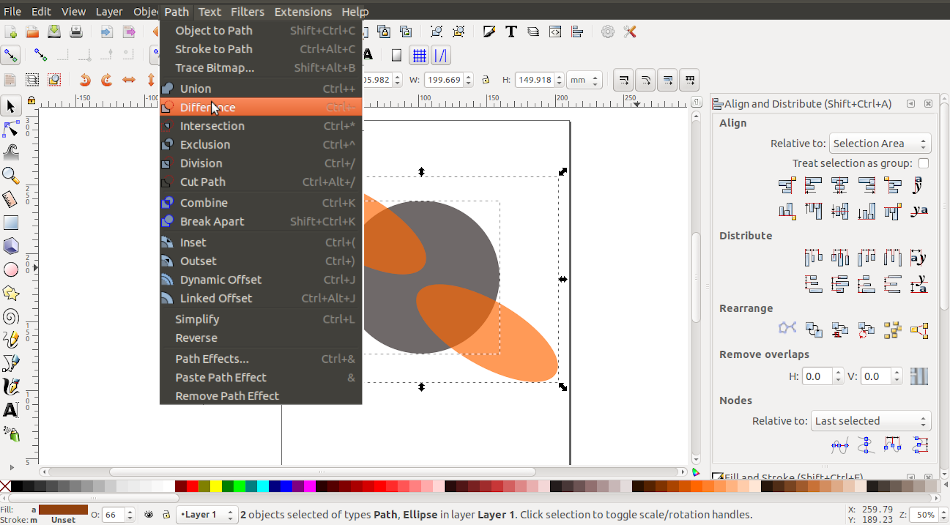
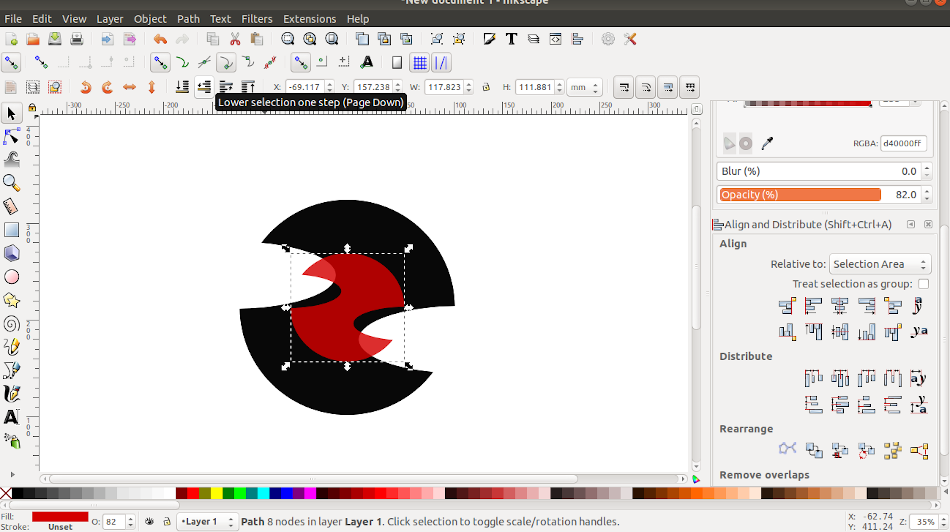
- Use the “ Duplicate” tool by right click on the image which we want a copy.I made a copy of elilipse then used " Difference" tool from "path" to get below image. We can try "Union", " Intersection" etc features to get our required feature. I also used "Align and Distribute" tool.
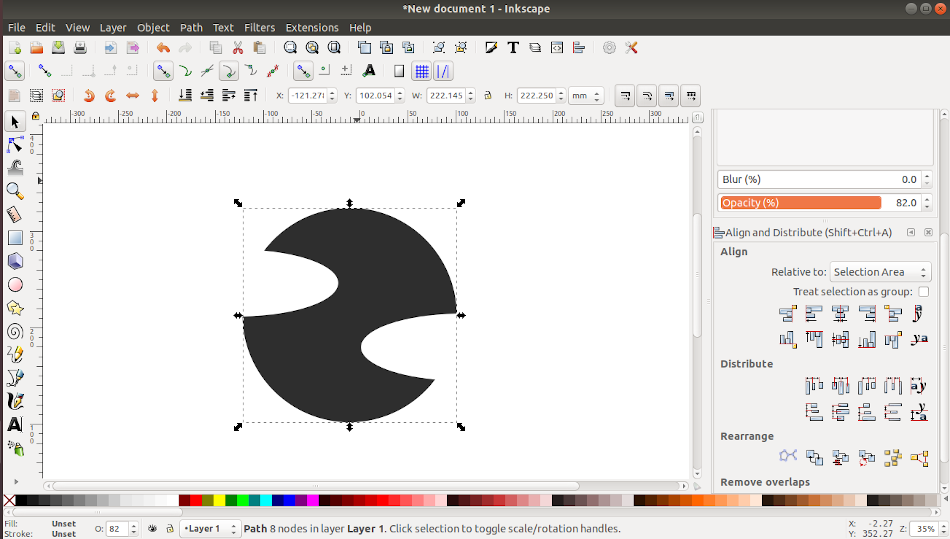
- Use the “Duplicate” tool to replicate the above modelled image . I used ‘scale’ and ‘rotate’ option of the image by using the arrows seen around the circle. This helped me create below shown image. Also I connected end points using "line " tool.
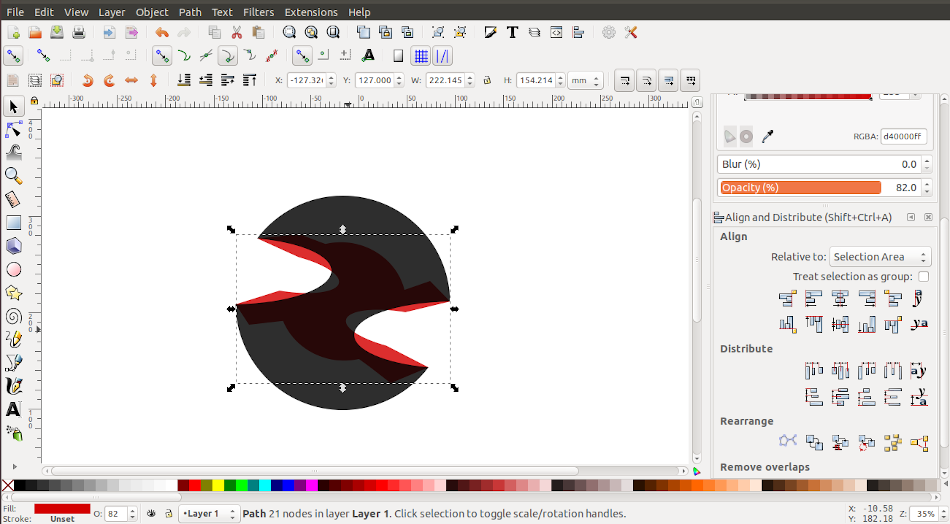
- I used the ‘Fill and Stroke' option to fill different shades and gradients of color to the image for the logo. Deveopment of logo is shown below.
- Finally I exported the image to required format.
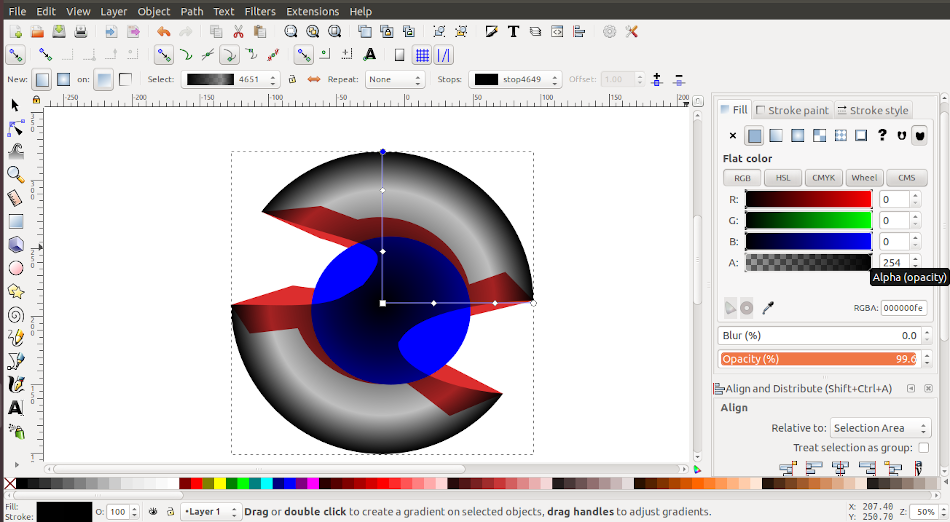
Logo designed using Inkscape

******************3D Design******************
‣ AUTO DESK FUSION 360
In fusion 360 I decided to model a 3D lego. I haven't used a specific dimension. I only concentrated on the shape and features of lego
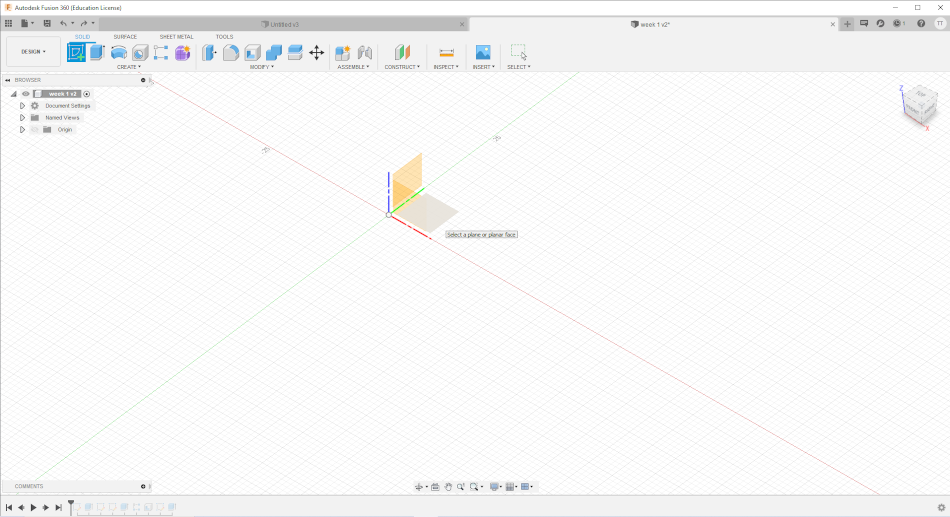
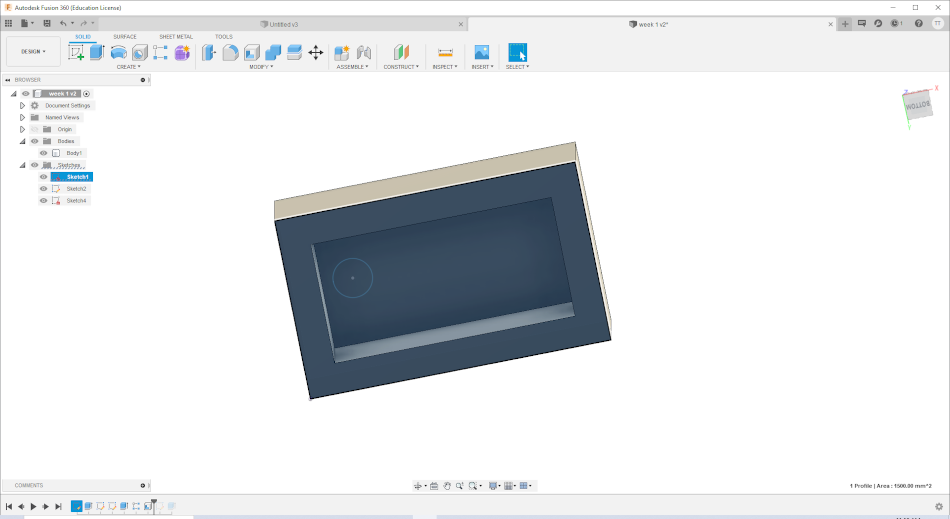
- In fusion 360 click “ Sketch” after selecting the plane (X, Y or Z plane).
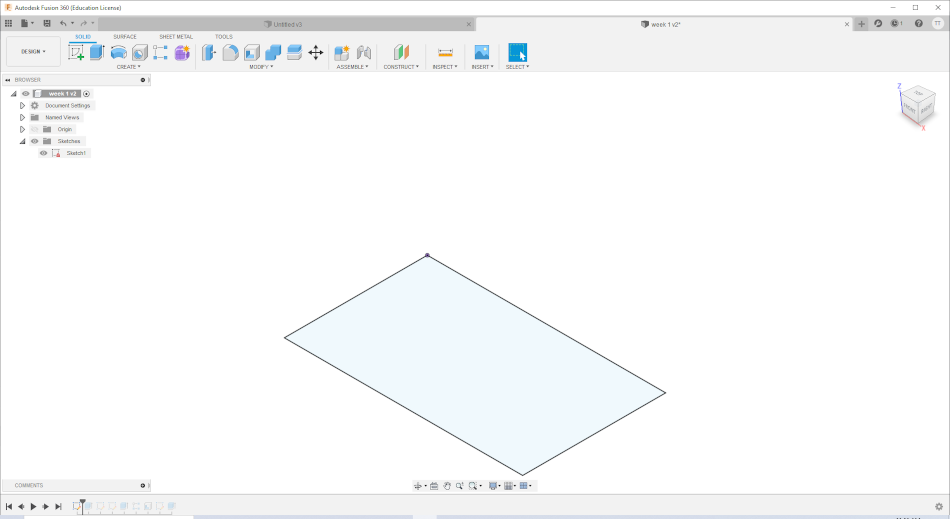
- A new window for sketching will be opened with all basic tools on the toolbar (located on top). After drawing a rectangle with dimension exit the sketch window.
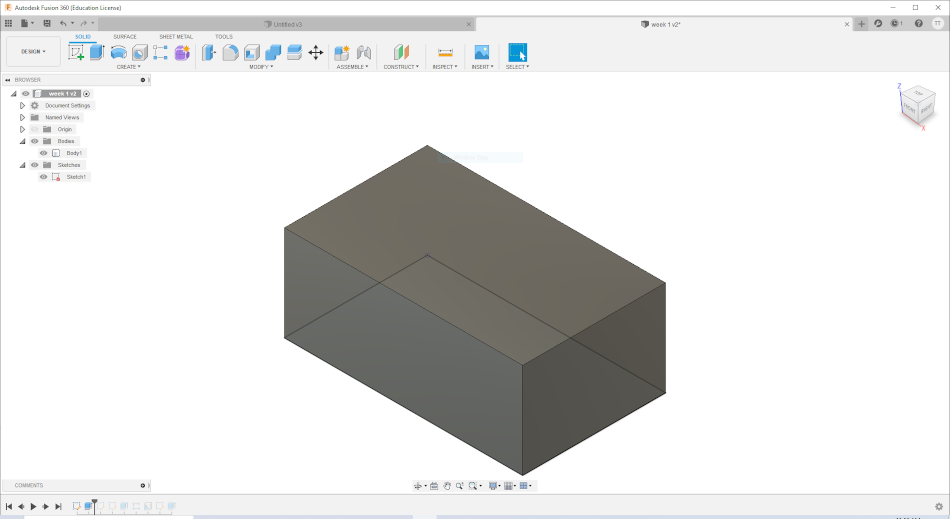
- Click the extrude button for making it 3d , give the dimension.
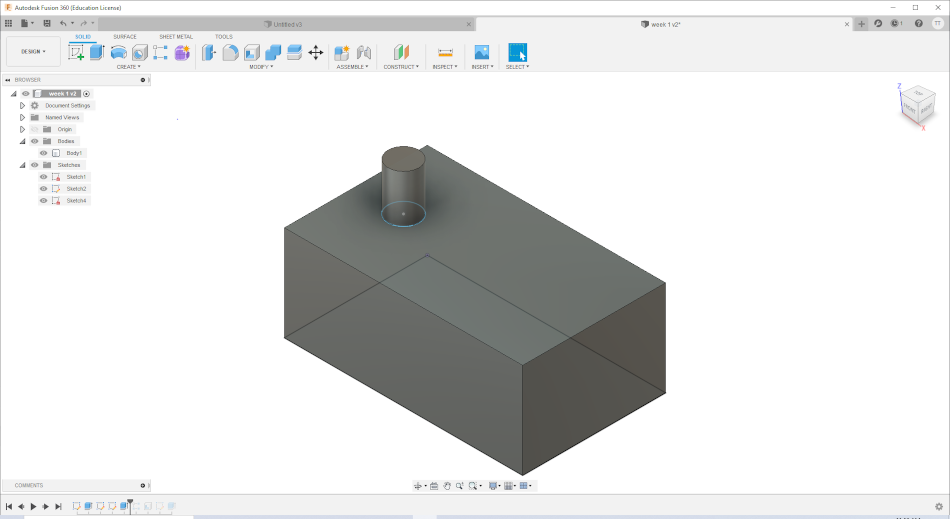
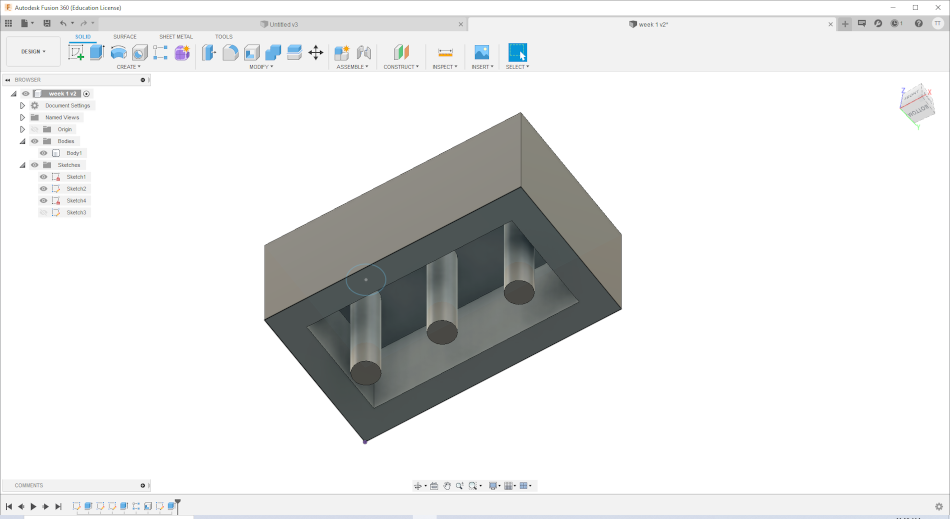
- Now we need to make a cylinder on the top face of the rectangular block, again go to the sketch window and draw a circle of the required dimension. Exit the sketch window.
- Go to extrude to make a ‘cylinder’ . During this option we will have options to ‘Join’, ‘Cut’ or ‘New body’.
- Next we need to multiply the cylinder feature on the same plane, so I went for a pattern from the ‘Create’ button. Click ‘ Pattern’ Rectangular. A new sub window pops-up. Give distance between the pattern selected the pattern type. Direction etc. click ‘ok’, then we will see the pattern.[ see the picture shown below]
- Next I want to make the same pattern inside, for that I made a void space using ‘offset’ +‘Extrude’ option. The i repeated the above steps to create the pattern.